Beginner Ceramics · Comparison
Handbuilding vs the Wheel: Which Should Beginners Try First?
6 min read
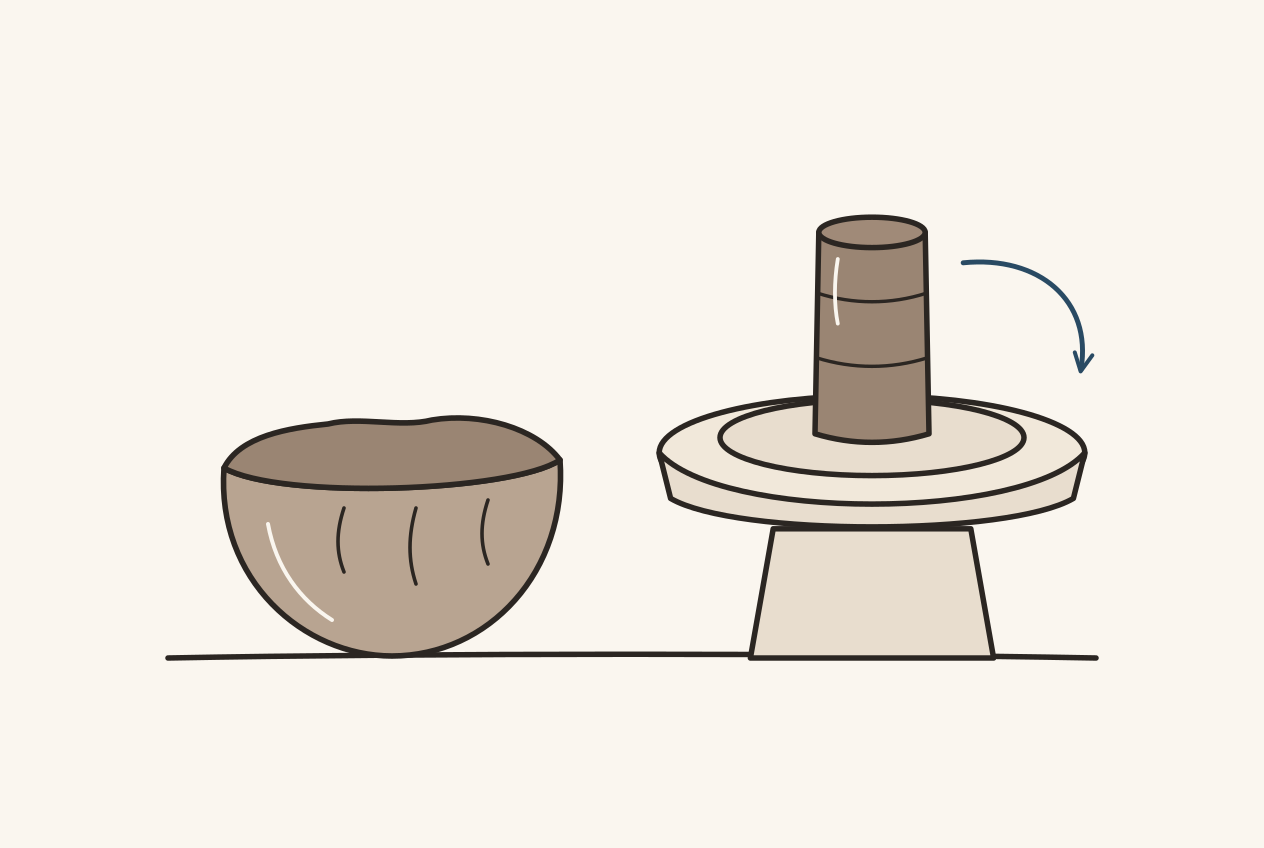
If you are looking at a first pottery class, you might wonder whether to choose handbuilding or wheel throwing. We ended up choosing differently, so this page has two parts: a side-by-side look at the two methods, drawn from the studio and education sources listed below, and then why each of us went the way we did.
Short answer
Should a beginner start with handbuilding or the wheel?
If a class lets you try both, do that. It is the quickest way to find out which one you enjoy. If you want to start at home or keep equipment to a minimum, start with handbuilding: a pinch pot needs only clay and your hands, while throwing needs a potter’s wheel. Either way, pottery clay still has to be fired in a kiln, so plan on a studio or a firing service unless you choose air-dry clay.
What is the difference?
Handbuilding means forming clay without a pottery wheel. Pinching, coils, and slabs are the usual ways in. Northern Clay Center describes handbuilding as work made by hand without the wheel, and lists sculpture, tiles, and vessels such as bowls, cups, and vases built from coils and slabs among the things people make that way.
Wheel throwing uses a rotating potter’s wheel to form the clay. It is commonly used for round forms such as bowls, cups, and cylinders.
Neither is just a beginner stage you are supposed to graduate from. Both can become a whole practice.
Handbuilding vs the wheel, side by side

| Question | Handbuilding | Wheel throwing |
|---|---|---|
| Equipment to start forming | Clay and your hands. Clay King notes pinch pots need nothing but the clay; simple tools help with coils and slabs. | A potter’s wheel, plus clay and a small tool kit. Northern Clay Center lists the same basic kit (sponge, wire tool, pin tool, wood knife, wooden rib) for beginner wheel and handbuilding classes. |
| Can you start at home? | Yes, for the forming, because no wheel is needed. | Only with a wheel of your own. Otherwise, you use a studio’s wheels. |
| Firing | Pottery clay still needs a kiln, usually a bisque firing and a glaze firing. Air-dry clay skips the kiln but is not waterproof or food-safe. | The same. Thrown pieces need the same kiln firings. |
| Learning curve at the start | University of the Pacific’s ceramics text calls pinching accessible to beginners and a way to learn the fundamentals of working with clay. | Centering the clay on the wheel comes first. The same text calls it foundational, says it improves with practice, and notes that even experienced potters sometimes struggle with it. |
| Typical first projects | Pinch pots, coil and slab pieces, small sculptures. One beginner class we found teaches pinch, coil, slab, and sculptural construction. | Cylinders and bowls. A university course text treats them as the foundation of wheel work: center, open, pull the walls, then trim at leather-hard. |
Equipment. The real difference is the wheel. The hand tools overlap: Northern Clay Center recommends the same beginner kit whichever class you take. Our beginner tools guide covers what is worth buying first and what can wait, including the wheel.
Starting at home. Handbuilding is the easier one to try at home because nothing has to spin. The catch is firing. Clay King, a ceramics supplier, describes firing once to bisque and again after glazing as essential, notes that owning a kiln is often not feasible when you are starting out, and points to community studios and kiln rentals instead. If you just want to get your hands into clay with no kiln at all, air-dry clay is the usual route; the same page notes it is not waterproof or food-safe. Our air-dry clay guide goes further.
Learning curve. We are not going to claim one method is easy and the other hard. What the sources do show is the order of things. A pinch pot starts with a ball of clay and your fingers. On the wheel, centering comes before anything else. The University of the Pacific course text starts its wheel forms there, and treats centering as the foundation and a skill that improves with practice. When you get to cylinders and bowls, our vessel calculator works out how much clay to weigh out for each one.
Classes. Some studios run the two as separate beginner classes; Northern Clay Center lists both. The Jamestown Arts Center’s introductory handbuilding class, for example, says plainly that it is not a wheel-throwing class, and lists clay, basic tools, glazes, and firing as included. What a class includes varies, so ask.
For a first pinch-pot project, try our clay dog template: the body and head start as two pinch pots. The printable dog template prints the pieces at actual size, and our cat template works the same way.
Why we chose differently
This part is not a verdict on which one is better. It is what drew each of us in. She tried both and preferred handbuilding. When I joined a few months later, I was already leaning toward the wheel. The longer version of how we started is in our story.
Why she chose handbuilding
After trying the wheel, she knew it was not the part she wanted to stick with. In her words:
“Coming from a more creative background, I feel the wheel limits me to certain shapes at the moment, where handbuilding allows me to just make exactly what I imagine. I’m sure I’ll have to use the wheel in the future, but for now I like it like this.”
That is the useful distinction for us. The wheel currently feels limiting to her. Handbuilding lets her follow the piece she already has in mind. She is not ruling the wheel out forever.
Why I chose the wheel
I am drawn to making something many times and improving it.
Eventually I want to make sets for our home. Working toward a group of pieces with similar shapes and proportions sounds satisfying to me.
That does not mean handbuilders cannot make sets, or that everything thrown on a wheel has to match. It is just the direction I want to explore.
I also liked having a different focus from hers. We could learn alongside each other without turning it into a comparison.
Where to start
If a class lets you try both, that is what I would do. You will know more after trying them than after looking at finished pieces online.
If you would rather start at home, or you want to keep equipment to a minimum, handbuilding is the simpler place to begin, as long as you have a plan for firing or choose air-dry clay.
Before booking a class, it is worth asking whether you will get to try both methods, how much time you actually spend making, and whether materials and firing are included. Our first pottery class page has more questions to ask.
Not liking the wheel does not mean you do not like pottery. That would have been the wrong conclusion for one of us.
You are choosing somewhere to start, not making a permanent decision.
Sources (6)
: Northern Clay Center, University of the Pacific (Jessica Fong, Ceramics course on Humanities LibreTexts), Clay King (ceramics supplier) and more
- Education FAQs — Northern Clay Center. Class terminology (wheel throwing and handbuilding) and the beginner tool kit. Supports: Wheel throwing is work made on the potter's wheel; handbuilding is work made by hand without the wheel, including sculpture, tiles, and vessels such as bowls, cups, and vases made by coil and slab building. Beginner wheel and handbuilding classes use the same basic tool kit (sponge, wire tool, pin tool, wood knife, wooden rib). The center does not offer kiln access to the public.
- 4.1: Pinching- The Most Ancient Technique — University of the Pacific (Jessica Fong, Ceramics course on Humanities LibreTexts). Chapter 4 introduction and section 4.1 on pinching. Supports: Hand-building creates forms without a potter's wheel. Pinching uses the fingers to press and shape a ball of clay; its simplicity makes it accessible to beginners, and it teaches the fundamentals of working with clay.
- 5.2: Centering- The Foundation of Wheel Throwing — University of the Pacific (Jessica Fong, Ceramics course on Humanities LibreTexts). Centering overview and practice notes. Supports: Centering clay on the wheel is foundational to wheel throwing, improves with practice, and is something even experienced potters sometimes struggle with; once it becomes second nature, the potter can focus more on shaping.
- Making Pottery Without a Wheel: A Guide to Wheel-Free Pottery Techniques — Clay King (ceramics supplier). Pinch pots, air-dry clay, and firing sections. Supports: Hand building shapes clay with hands and simple tools; the only requirement for pinch pots is the clay. Firing to bisque and again after glazing is essential for kiln clay, owning a kiln is often not feasible at first, and community studios or kiln rentals are alternatives. Air-dry clay needs no kiln but is not waterproof or food-safe.
- Introduction to Handbuilding (Fall 2026) — Jamestown Arts Center. Class description and what is included. Supports: An adult beginner class that is not a wheel-throwing class teaches pinch, coil, slab, and sculptural construction for functional and sculptural forms, and includes the first bag of clay, basic tools, glazes, and access to studio equipment and firing.
- 5.3: Creating Basic Forms- Cylinders, Bowls, Plates — University of the Pacific (Jessica Fong, Ceramics course on Humanities LibreTexts). Step-by-step guide to throwing cylinders, bowl and cup sections, and thickness control and trimming. Supports: The course text presents cylinders as the foundation of most wheel-thrown shapes, requiring precise centering, and shapes bowls from a centered cylinder. Its steps are opening the clay with the thumbs (leaving a base about 1/4 inch thick), lifting the walls with steady, even pressure, and trimming excess clay from the bottom at the leather-hard stage. It calls these foundational shapes to master. It does not describe a particular class, and it does not mention mugs, tumblers, or vases.