Clay & Forming · How-to
Make a Small Clay Dog with Our Printable Template
5 min read
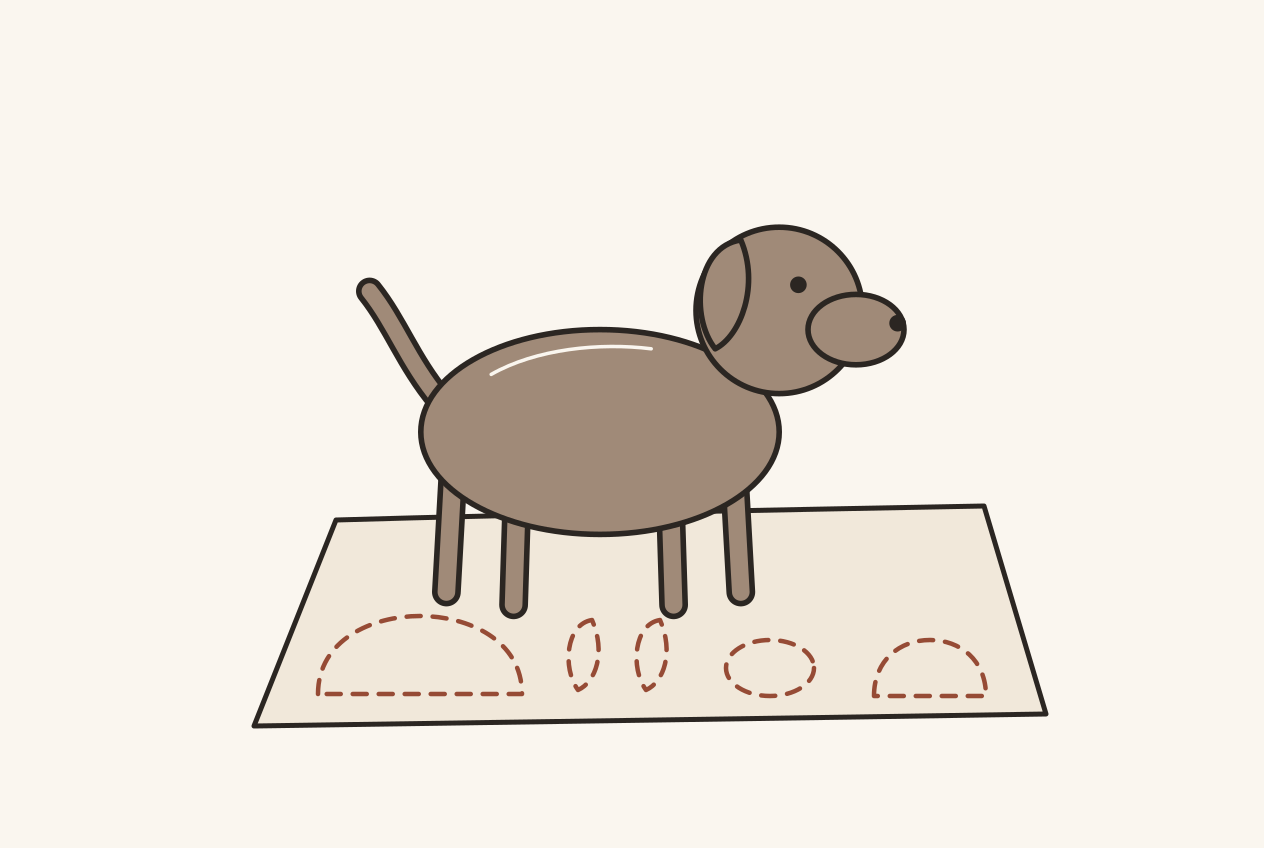
A small clay dog is a good first handbuilding project. It uses the two skills every handbuilder leans on, pinching and joining, and it forgives a lot. A wobbly leg still looks like a dog.
To make it easier to plan, we built a free dog template. You choose the body size, ears, legs, snout, and tail, and it prints the pieces at actual size, already scaled up for your clay’s shrinkage.
Short answer
How do you make a small clay dog from a template?
Print the free dog template at 100% (actual size), then build the dog from pinch pots, coils and a thin slab:
- Body and head: pinch two pots for the body and two smaller ones for the head, check each against its card gauge, and join each pair into a hollow egg and a hollow ball.
- Vent hole: poke a small hole under the belly or chin so air can escape as the dog dries and fires.
- Legs, tail, ears and snout: roll coils for the legs and tail, and cut the ears and snout from a thin slab around the paper outlines.
- Assembly: score, slip, press and blend every join, attaching the legs first.
Use the same clay for every part, and dry the dog slowly, loosely under plastic for the first few days.

What you need
- About a fist-sized lump of clay. The template tells you exactly how big to roll each ball.
- The printed template, and a piece of thin card such as a cereal box.
- A needle tool or a craft knife, a scoring tool or an old fork, and a small sponge. You can cut your own from a car sponge.
- A little slip: clay softened with water to the thickness of yogurt.
- A sheet of plastic to slow the drying.
Use the same clay for every part of the dog. Mixing clays can make joins crack as they dry and fire.
1. Design and print your dog
Open the dog template and pick the options you like. Enter the shrinkage from your clay’s product sheet, so the finished dog comes out the size you expect after firing.
Print at 100% (“actual size”), not “fit to page.” Measure the 50 mm line at the top of the sheet. If it isn’t 50 mm, the printer scaled the page, and your pieces will be off by the same amount.
2. Cut out the gauges
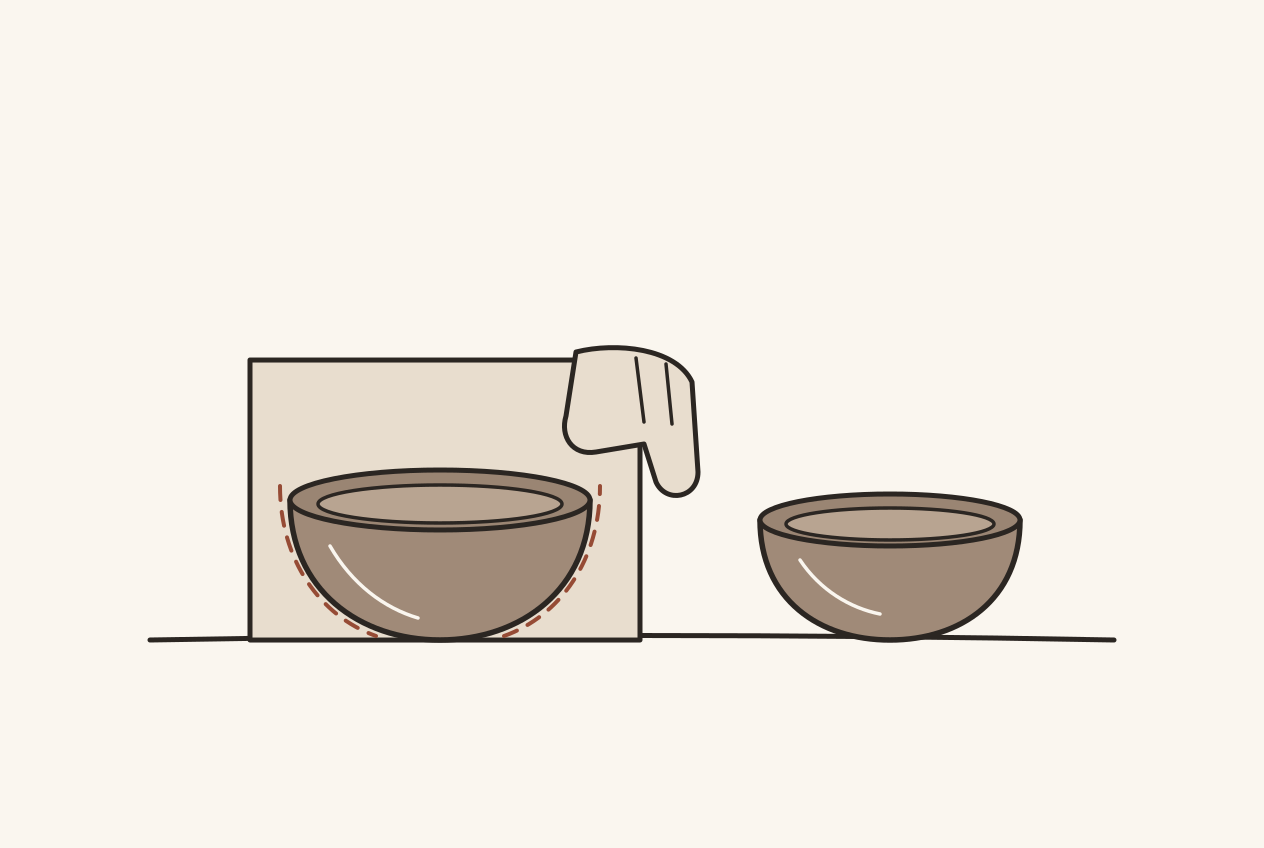
The body and head each come with a card gauge: a half-egg for the body and a half-circle for the head. Cut both out of card along the dashed lines. You will hold them against your pinch pots to check their shape.
The ear and snout outlines are cutting guides too. Cut them out of paper so you can lay them on a slab of clay.
3. Pinch the body and head
Roll two balls the size shown for the body. Push your thumb into the centre of one, then turn it in your hand, pinching the wall evenly from the bottom up. Aim for a wall about as thick as a pencil. Stop now and then to hold the gauge against the outside. When the pot matches the gauge, make the second one the same way.
Do the same for the head with the two smaller balls and the smaller gauge.
Let the pots firm up for a little while, until they hold their shape but are still soft enough to join. Your class may call this leather-hard, or a little before it.
4. Join the halves
Score both rims with your fork or scoring tool, brush on slip, and press the two halves together. Smooth the seam with your thumb or a wooden tool until it disappears. You now have a hollow egg for the body and a hollow ball for the head.
Hollow shapes trap air. Poke a small hole somewhere it won’t show, such as under the belly or under the chin, so air can escape as the dog dries and fires. Ask your studio how big they like vent holes to be.
5. Make the legs, tail, ears, and snout
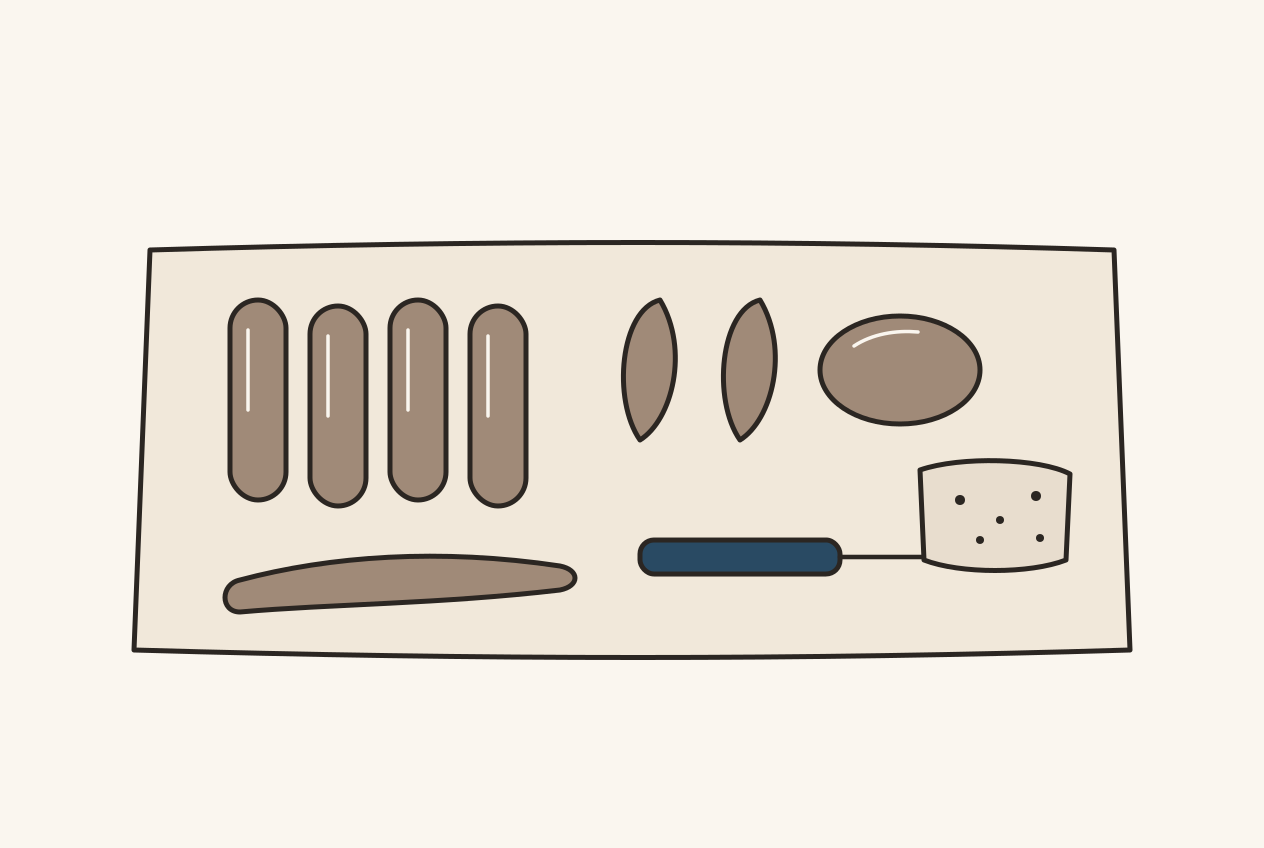
Roll four coils for the legs, using the leg outline as a guide for length and thickness. Roll one coil for the tail, tapering it to a point.
Roll a thin slab, lay the paper ear and snout shapes on it, and cut around them with your needle tool.
6. Put your dog together
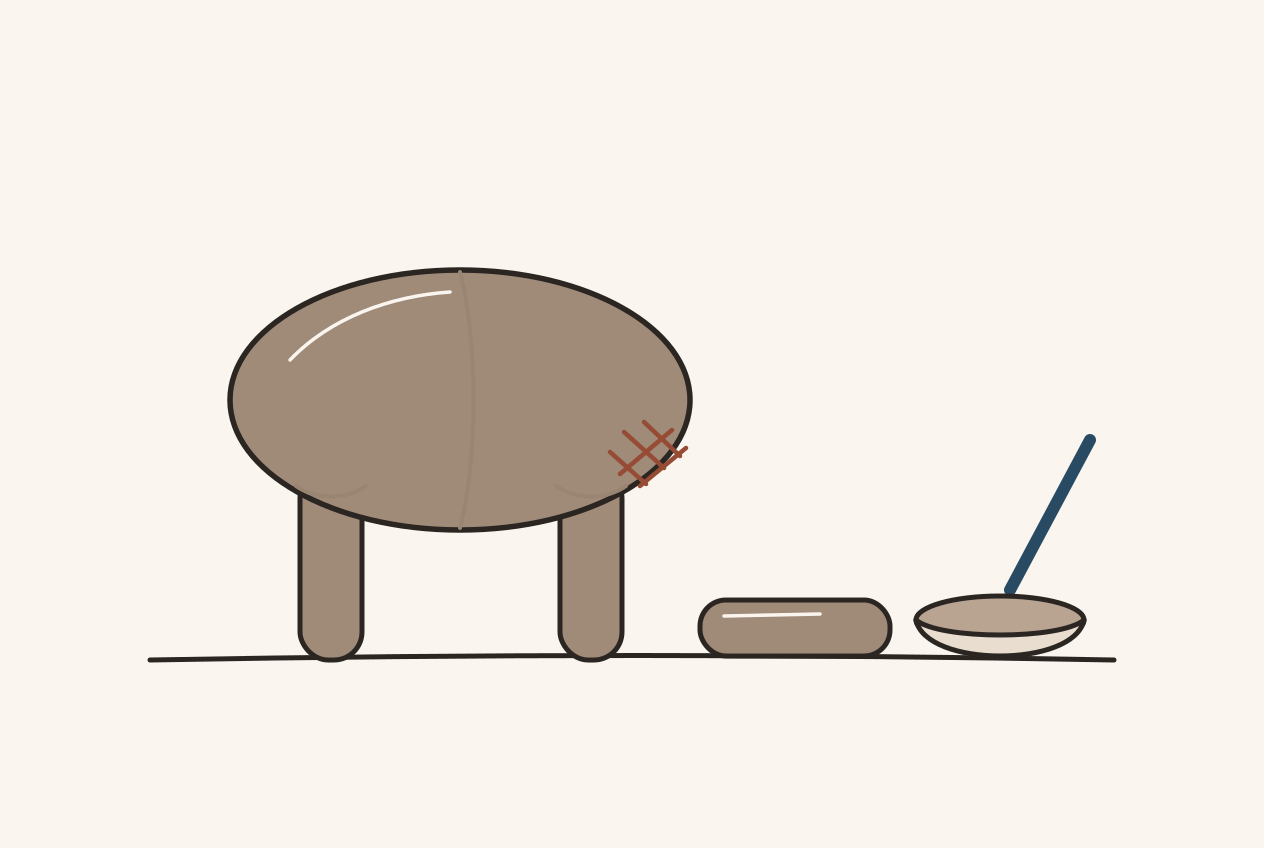
Every join gets the same treatment: score both surfaces, add slip, press together, and blend the edge so the two pieces become one. A join that is only pressed together is the one most likely to come apart later. Our note on why handbuilt joins separate explains why.
Attach the legs first and stand the body up, checking it against the side view on the template. Then add the head, snout, ears, and tail.
7. Dry it slowly
Thin parts like ears and tails dry faster than the body, and that difference is what cracks joins. Cover the dog loosely with plastic for the first few days, then open it up a little at a time. Our notes on why clay cracks while drying go into more detail.
Once it is completely dry, it is ready for your studio’s bisque firing. Follow their instructions for firing and glazing.
Make it your own
The template is a starting point, not a rule. Change the ears halfway through, give your dog a longer tail, or press a pattern into its back. If you make one, we would love to see it. If you would rather make a cat, our cat template works the same way.
Sources (2)
: Digitalfire, Tony Hansen
- Drying Ceramics Without Cracks — Digitalfire, Tony Hansen. Ware shrinks when it dries; Isolate the stage where drying gradients are introduced; Give consideration to each type of piece; Clay is composed of microscopic flat crystals; Conclusion; and the picture notes on mugs, handles and foot rings. Supports: Hansen says it is the unevenness of drying, not its speed, that makes ware crack, and that at no time should any part of a piece be significantly ahead of another. A moisture spread introduced early (for example by an unshielded draft, or ware left out too long after forming) tends to remain, and in one of his examples covering mugs with cloth and plastic after the rims had stiffened did not save them. He recommends covering ware with cloth and plastic, waxing or wrapping handles so they keep pace with the body, slowing fast-drying sections with wax resist or latex at leather-hard, turning bowls over as soon as possible, even wall thickness with bases trimmed to the same thickness as the walls, avoiding sharp concave angles, and compressing the bottoms of wide thrown pieces to reduce drying stress (while saying even thickness and even drying, not compression, are the key). His conclusion: take cracked ware seriously, because a few cracked pieces can reveal a flawed process. The article gives no method for repairing a crack that has already opened. This is a technician's published explanation, not a test run for this site.
- Drying Crack — Digitalfire, Tony Hansen. Glossary text and picture notes on S-cracks, handle joins and large plates. Supports: Hansen says evenness matters more than drying speed and that fast-yet-even drying gives fewer cracks than slow-but-uneven drying. He says drying cracks like to start inside sharp acute angles, so rounding those angles at handle joins while the clay is leather-hard denies a crack a place to start, and that thinner, more even walls, better wedging and more even drying mean fewer cracks in large plates. He says most shrinkage happens as the first water is released, and that when one part dries well ahead of a neighboring part the stiffer part cannot shrink with the softer one. The entry describes S-cracks growing suddenly near the end of drying. It does not explain how to repair a crack that already exists.