Clay & Forming · How-to
Kurinuki Pottery: Carving an Espresso Cup From a Solid Block
5 min read
Short answer
What is kurinuki pottery?
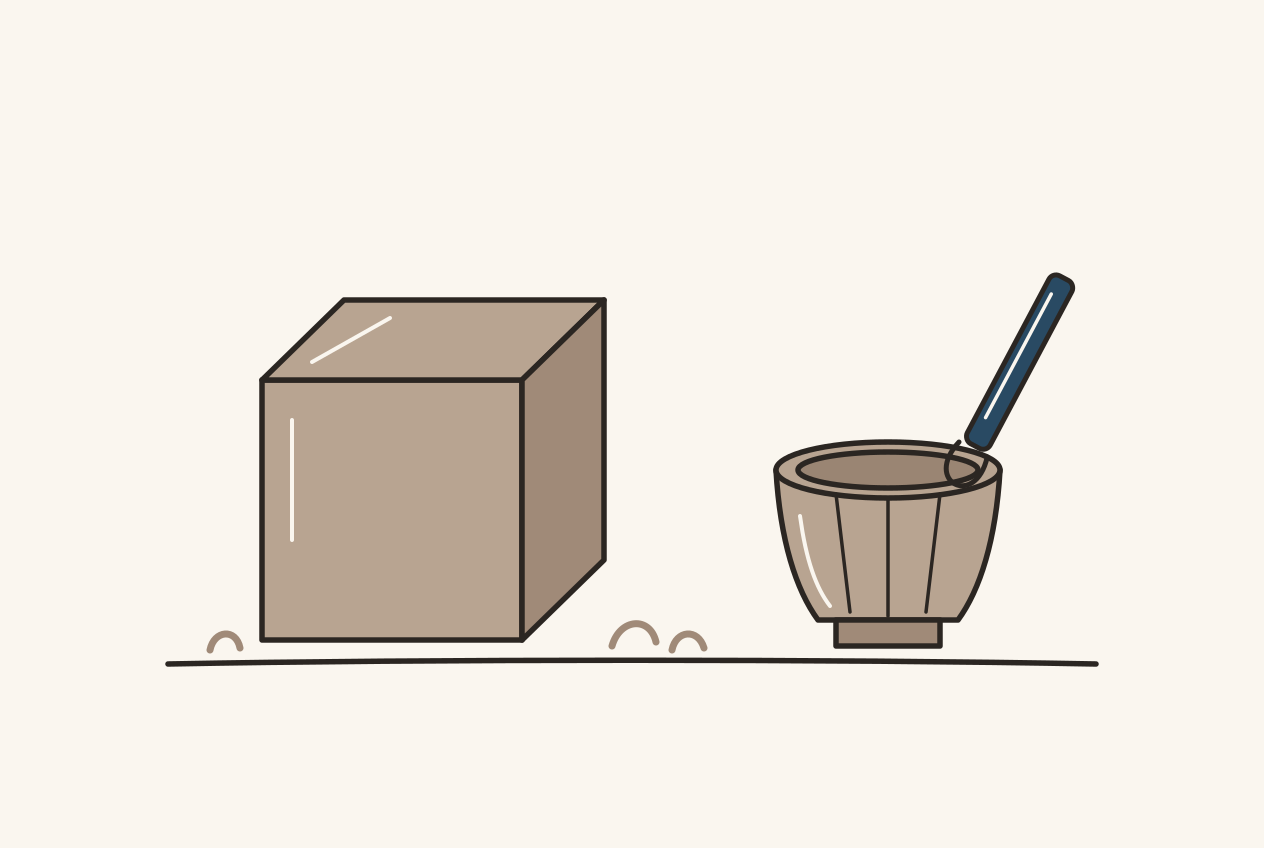
Kurinuki is a Japanese handbuilding method: you start with a solid block of clay, carve the outside into shape, then hollow out the inside, instead of building the pot up from coils or slabs. The clay needs to be firm enough to hold its shape, the walls as even as you can make them, and the piece dried slowly and evenly. In her first workshop, a 7 × 7 × 7 cm block became a small espresso cup.
She took a kurinuki workshop as one module of a longer ceramics course. The workshop was fit into a single day, and she came home with three pieces. This page explains the method from the sources below, then walks through how her espresso cup was made.
What kurinuki means
The word comes from the Japanese verb くりぬく (kurinuku), which the Jisho dictionary translates as “to gouge out; to excavate; to hollow.” The V&A museum describes kurinuki as a handbuilding technique in which the form is shaped from a solid block of clay and the inside is then hollowed out, and gives the meaning as “dig-out.”
Because you carve the shape out of the clay instead of building it up, you find the form as you go. Eva Champagne, writing for Ceramic Arts Network, advises against overplanning.
Three ways she tried it
The workshop had her try three starting shapes:
- A square block, carved down. This is the classic method and the one this page follows.
- A very thick, rough shape built first and then carved down, a faster adapted version.
- A thick cylinder, carved from there.
Her second piece, the thick rough shape, ended up best suited to a small planter. The square-block piece became the espresso cup.

The clay and the block
Champagne says almost any clay body can work. The block must be larger than the piece you want, because you cut the outside away, and the clay should be firm enough to hold its shape but still soft enough to take impressions.
Her block was a 7 × 7 × 7 cm cube of a clay with 2% grog. That turned out to be a perfect size for an espresso cup. It felt very wasteful to carve so much away, until she remembered that all the scraps can be recycled.
Tools
The studio supplied everything:
- Wire tool to cut the block
- Fettling knife for the outside shape
- Two loop tools, one rounded and one square, for hollowing and the foot
- Spatulas and knives to press and cut textures into the outside
Champagne’s tool list is much the same: a wire, a fettling knife, a cheese cutter, a loop tool and a dowel. For a basic kit, see our beginner pottery tools.
The steps she followed
- Carve the outside. Slice the block into the shape you want with the wire and knife, and add texture now if you want it. Champagne notes that slicing removes most pressed-in texture, so expect only some to survive.
- Cut the foot. Turn the piece over and carve the foot with a loop tool, leaving enough thickness at the base.
- Hollow the inside. Scoop out the inside with the loop tools, checking the wall as you go.
Champagne cuts the foot first. Her class went outside, then foot, then inside. Champagne also advises keeping the walls as even as you can manage.
If it’s for drinking, think about the mouth and the hand. She left the walls thinner so the cup sits comfortably in the hand, and kept the rim smooth and even, with no sharp edges.
If you scratch too deep or tear the clay, dab on a little slip and fill it with the same scraps you carved off. They already have the same moisture as the piece, so they blend in.
Drying: patience, and evenness
Getting the clay to the right firmness took a lot of patience. They had to wait for it to firm up before carving, and the school put pieces in its greenhouse so they would dry more evenly.
To fit the workshop into a single day, the class also used some sun drying. The teacher was clear that this isn’t the right method; it was only for the sake of the class. Champagne recommends the opposite for kurinuki: dry it slowly, under cloth and plastic. Tony Hansen of Digitalfire explains why: evenness matters more than speed, and when one part dries ahead of its neighbor, the stiffer part can’t shrink with the softer one. More in why clay cracks while drying.
Her pieces aren’t fired yet. She’s still practicing, so we can’t say yet how the walls and textures will come through the kiln. We’ll update this page when they do. Whether a finished cup is safe to drink from depends on the clay, the glaze and the firing, so ask your studio.
What she thought
It was cool as a workshop and for practicing the technique, but she doesn’t see it becoming something she does every week. Getting the drying right takes patience, and carving is slow.
What she’d like to make more of: espresso cups. She doesn’t think she’d carve anything much bigger than a cup. She also sees it as a lovely way to make personal gifts, because the process is so unusual, and you can carve shapes that would otherwise need a mold.
Should kurinuki be your first class?
Probably not your very first, in her view. Kurinuki is beginner-friendly, but it’s so specific that you’ll get more out of it once you’ve done some handbuilding or wheel throwing and understand how clay changes as it dries. Without that, you can follow the steps and still miss the knowledge behind them. As a second class, it’s a great fit. Our first pottery class guide covers what to ask a studio before you book.
Where this page stops
This page doesn’t give firing temperatures, kiln schedules or glaze advice; follow your studio and the clay maker’s sheet. It also doesn’t cover sanding or grinding dry clay to fix thickness, because that makes silica dust. Ask your studio how they handle that.
Sources (5)
: Pottery Making Illustrated (Ceramic Arts Network), Ceramic Arts Network Daily, Victoria and Albert Museum and more
- Kurinuki Curious — Pottery Making Illustrated (Ceramic Arts Network). Eva Champagne, July/August 2020. Supports: Describes kurinuki as carving a form from a solid block and hollowing it; says any clay body can work; the block must be larger than the form; clay firm enough to hold its shape but take impressions; tools; step order with the foot cut first; split-and-rejoin for tall forms; walls as even as you can manage; slow drying under cloth and plastic.
- How to Make a Vase Using the Kurinuki Technique — Ceramic Arts Network Daily. Excerpt of Eva Champagne's article. Supports: Lists wire, fettling knife, cheese cutter, loop tool and dowel; notes that slicing removes most pressed-in texture; advises against overplanning.
- Water Jar, Higashida Shigemasa, 2021 — Victoria and Albert Museum. Collection record FE.156-2021. Supports: Defines kurinuki as a hand-building technique in which the form is shaped from a solid block of clay and the interior hollowed out, and gives its meaning as dig-out.
- 刳り貫く (kurinuku) — Jisho.org. Japanese-English dictionary entry. Supports: Translates the verb as to gouge out; to excavate; to hollow.
- Drying Crack — Digitalfire, Tony Hansen. Glossary text and picture notes on S-cracks, handle joins and large plates. Supports: Hansen says evenness matters more than drying speed and that fast-yet-even drying gives fewer cracks than slow-but-uneven drying. He says drying cracks like to start inside sharp acute angles, so rounding those angles at handle joins while the clay is leather-hard denies a crack a place to start, and that thinner, more even walls, better wedging and more even drying mean fewer cracks in large plates. He says most shrinkage happens as the first water is released, and that when one part dries well ahead of a neighboring part the stiffer part cannot shrink with the softer one. The entry describes S-cracks growing suddenly near the end of drying. It does not explain how to repair a crack that already exists.